To save a SAM for the first time, or to save an existing SAM with a new name, follow these steps:
1.If you have not already done so, create a new SAM or open the existing SAM that you want to save. If you need information about opening an existing SAM, see Opening an Existing SAM.
2.Select SQL Access Module Ø Save as.
The Save SQL Access Module As dialog box appears, as shown below. The SAMs current name appears by default in the Save as filename entry field.
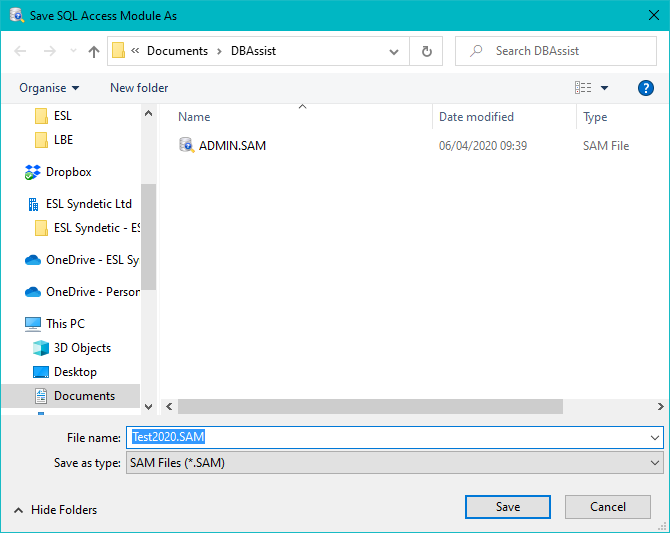
Save SQL Access Module As Dialog Box
3.Navigate to the directory where you want to store the SAM. The names of the SAM files in that directory appear in the File list box.
1.Type a new name for the SAM in the Save as filename entry field, or accept the default name. You can specify any base name of one to eight characters followed by a 3-character extension. However, we recommend that you use the .SAM extension as a standard throughout your DB/Assist development.
2.Select the Save push button.
The Save SQL Access Module As dialog box doses. DB/Assist saves the SAM to a file with the name you specified, and displays this name in the title bar of the DB/Assist Main Window. A message appears in the Status Area when the Save as operation is complete.
If you saved an existing SAM with a new name, DB/Assist closes the previous copy of the SAM and saves your changes to the new SAM file. Any subsequent changes you make apply to the new SAM file.
If you specify a SAM name that already exists, a message box appears asking if you want to overwrite the existing SAM with the new SAM Respond to this message in one of the following ways:
•Select the Yes push button to overwrite the existing SAM with the new SAM
•Select the No push button to cancel the Save as operation.